Every day we seem to be taking photos, whatever that’s for; social posts, selfies, fun memories or even setting up a great Zoom spot, it’s almost automatic. We’re also witnessing a rise in selfies, if that’s possible, and location shooting for some amazing personal posts on usually professional platforms like Linkedin, so whats stopping you?
Before diving in, one key piece of advice is keep the camera you have! If thats a smartphone camera, a DSLR or a tablet, master those before upgrading into more expensive or suitable models. Modern phones can outperform the standard cameras nowadays, we’ve seen entire movies shot on iPhones. The lens’ are great, the interfaces are simple and intuitive and storage is amazing. So what are the pitfalls that commonly trip people up with photography? We have some simple tips to help keep you in focus on your Teams call or to take the pain out finding your shots later.
Now we move onto the more technical aspects. Without this musing being far too long, take a look at these top tips for selfies and photography!
1. Lighting your Shot
The front facing camera on your phone is never as good as the lens on the back. So when you plan to take a selfie, shoot a video of yourself, or even join a Zoom meeting make sure your phone face is clean! Even with the best lighting your ‘image’ will blur or smear.
When thinking about your lighting never, ever ever sit with your back to a window or source of light, unless that angelic effect is what you’re shooting for. It isn’t a problem, too much, if you’re outside but for great results try to position yourself in front of a global light, a window is ideal, so that the light floods over you, face on.
Try to avoid sitting under heavy shade against a bright background, the contrast will make it harder for your device to digitally balance the light resulting in a messy, often dark and blown out image.
2. Composition
Different situations require different approaches to shooting your image or video. For example it may be destined for your Youtube channel or your Instagram and as such there are a couple of things to think about.
Portrait or Landscape, that is the question! If your photo or video is most likely viewed on a desktop or television, you will probably want to shoot in landscape mode. 16:9 beautiful full, edge-to-edge fidelity . This option benefits from all the extra data that would ordinarily be cut off of a portrait image, unless of course, vertical space is what you need!
In that case 9:16 portrait mode is where you’re headed. This is the typical selfie aspect and is great for recording bits-to-camera or vlog segments. As the name suggests its perfect for capturing people, or anything that’s teller rather than wider!
3. Editing your Photography
Once you’ve captured your piece it’s time to get it out to the public, but first almost everything needs some editing, sorry guys!
By editing we’re not talking about; skin softening or retouching, but balancing and adding a touch of flair. If you’re preparing your photo or video for public consumption it’s important to portray reality, right? Even if your image is going to be used in some other way you need to make sure your highlights don’t blow out and your shadows pop.
There are myriad of apps available on smartphones and desktop that will take the headache out of this, such as; Snapseed, Photoshop Express or iMovie. But both iOS and Android have pretty flexible editing abilities inside the Photos app. There is no ‘set’ formula, despite what some people may have you believe, it’s more of a ‘understand the tools, play and learn’ type situation so that you can produce the best possible result.
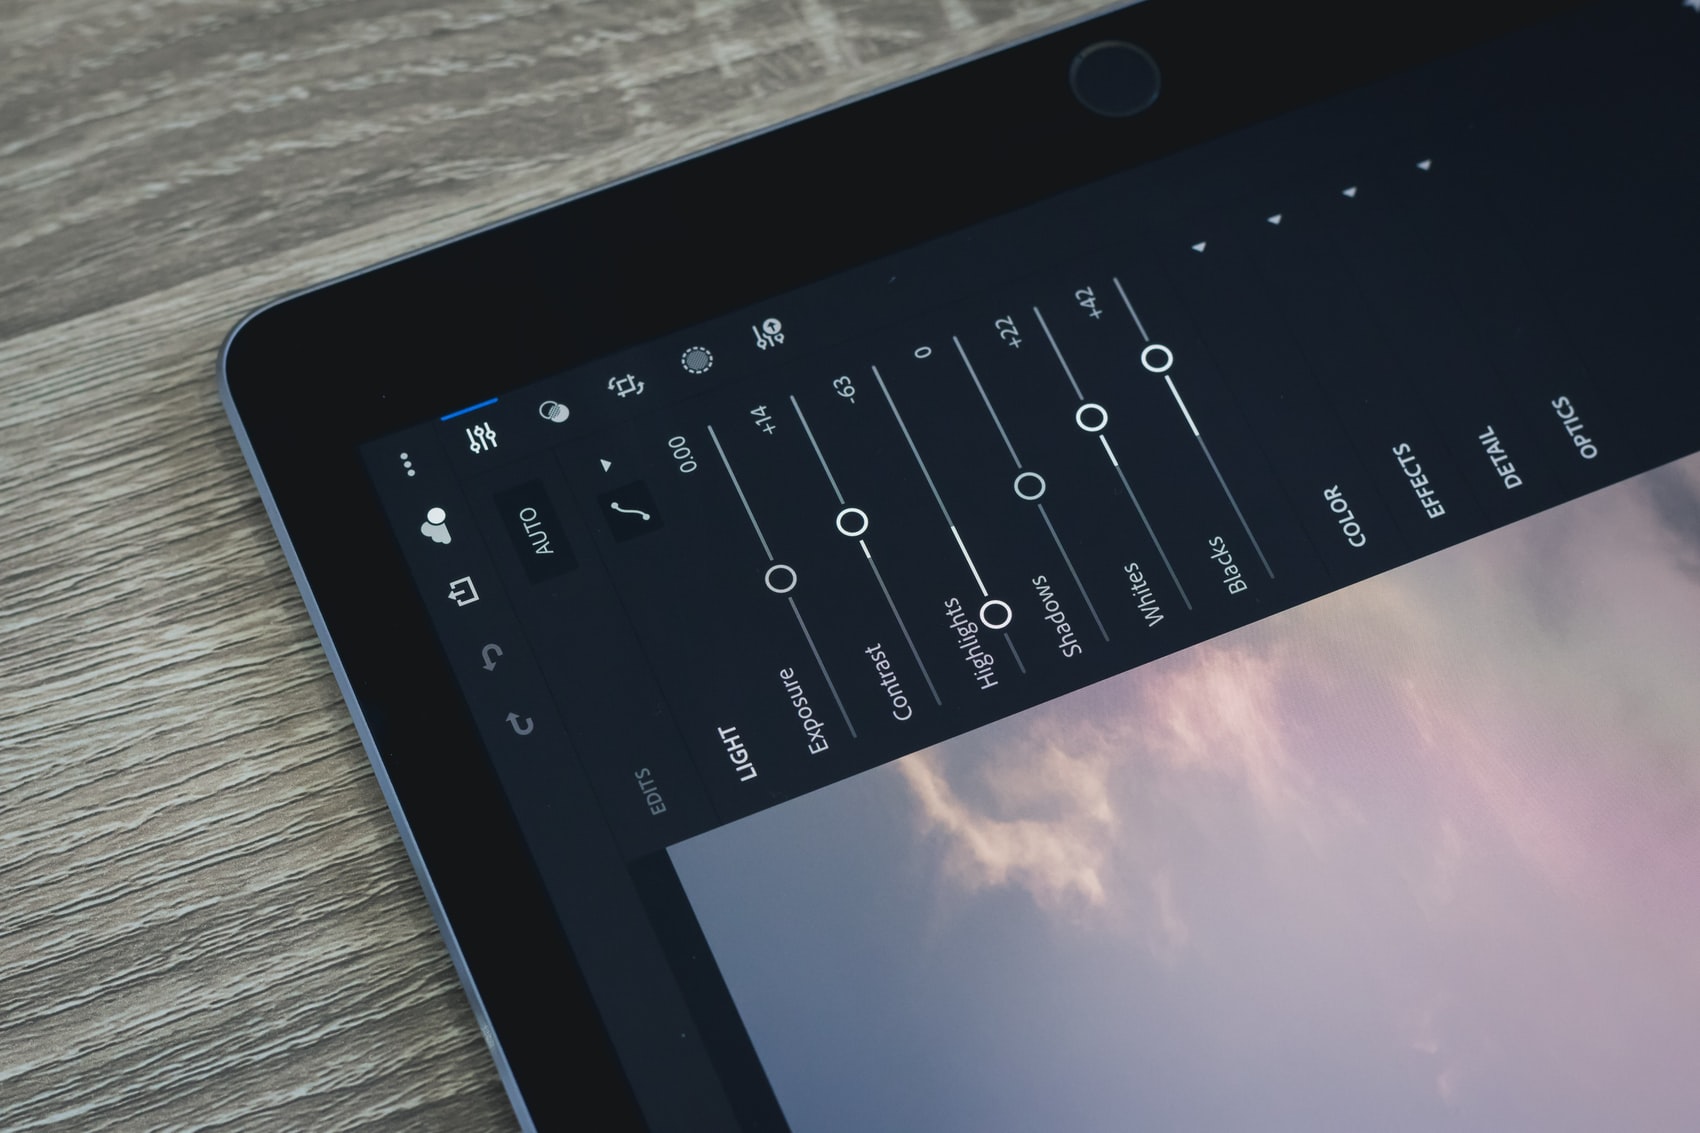
Editing RAW images from DSLR maybe more tricky on a smart device so we would highly recommend Adobe Lightroom! You can edit RAW on an iPad or other device but remember space and file sizes maybe an issue.
4. Photography Assets – Managing your shots
Create folders and label them for work, personal or some other identifier relevant to your cause. This is essential if you’re using a DSLR as file sizes maybe huge. Keen filing is important for quicker and easier photo/video selection in future especially if you’re creating content for your social media as you will probably have a lot of content!
Utilise tutorials and guides to ensure you have the best of everything you need at your finger tips, after all they are free! Remember to not be too critical of your photography especially if this isn’t your domain! Just keep in mind what the image is for and does it fit your brand and your message.
There are so many ways in which image and video can be ‘made better’ this relatively short list only scratches the surface. There are key concepts to think about each and every time you shoot and these headings ought to give you a good nudge in right direction.

